Guide to Installing Honeywell FCU Controllers for Buildings
Posted on: 08/04/2025
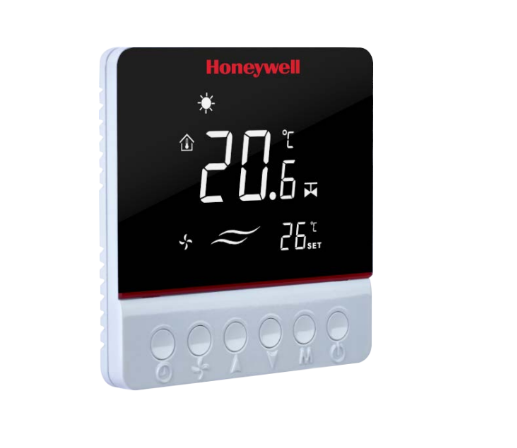
Honeywell FCU controllers optimize HVAC systems in buildings, ensuring accurate temperature control and energy savings. Proper installation not only ensures stable device operation but also enhances long-term operational efficiency.
Honeywell FCU (Fan Coil Unit) controllers are important devices in a building's HVAC system, helping to accurately control temperature and airflow, contributing to improved operational efficiency and energy savings. However, for the device to operate optimally, proper installation is crucial. In this article, DLK will guide you step-by-step on how to install a Honeywell FCU controller in detail and most effectively.
1. Preparation Before Installation
Before proceeding with the installation, you need to prepare the necessary tools and check the technical requirements:
-
Honeywell FCU Controller: Check that the model is suitable for the system.
-
Power Supply: Ensure the power supply meets the required voltage.
-
Wiring and Accessories: Electrical wires, screws, screwdriver, multimeter.
-
Technical Documentation: Manufacturer's installation manual.
2. Steps to Install the Honeywell FCU Controller
Step 1: Determine the Installation Location
-
Choose a location near the FCU for easy connection of signal wires.
-
Avoid places with high humidity or extreme temperatures (too hot/cold).
-
Ensure the location is unobstructed so that the temperature sensor operates accurately.
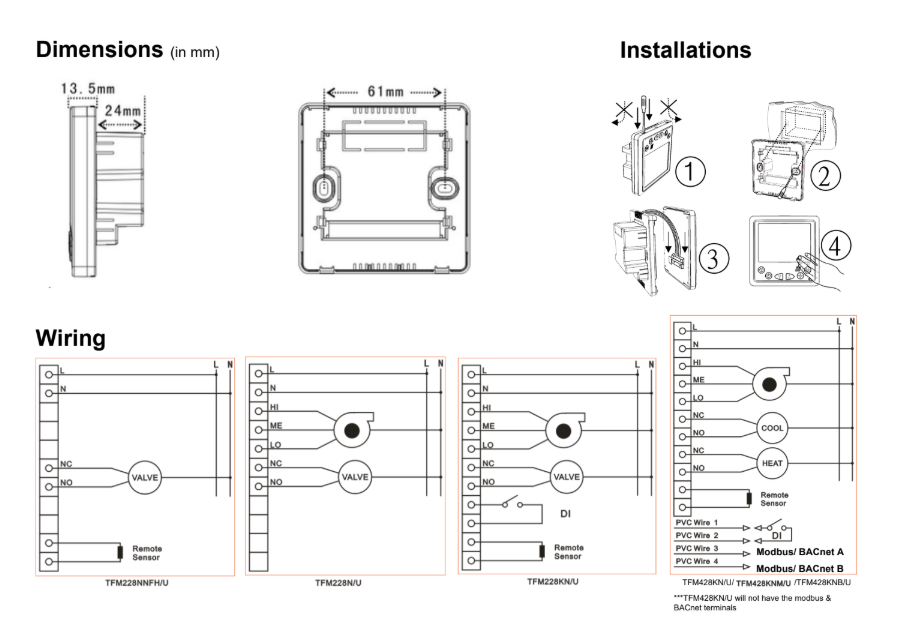
Step 2: Connect the Wiring
-
Turn off the power supply before working to ensure safety.
-
Connect the wires correctly according to the wiring diagram provided with the product. (Important: Emphasize following the manufacturer's wiring diagram.)
-
Ensure that the power wires, valve control wires, and sensor signal wires are securely connected.
-
Double-check all connections before applying power.
Step 3: Configure Settings on the Controller
-
Turn on the power and access the controller's setup interface.
-
Temperature Configuration: Set the desired temperature setpoints.
-
Operating Mode: Select cooling, heating, or auto mode.
-
Fan Speed: Adjust the fan to low, medium, or high speed as required.
-
Communication Protocol: Configure BACnet/Modbus connection if integrating with a BMS (Building Management System). (Automation terms: BACnet, Modbus, BMS Integration)
Step 4: Testing and Commissioning
-
Check all setting parameters and ensure they are functioning correctly.
-
Test the operating modes to verify the system's response.
-
Monitor temperature and fan speed to ensure stable equipment operation. (HVAC Term: Commissioning)
3. Important Notes During Installation
-
Carefully read the user manual to avoid errors during installation.
-
Ensure correct wiring according to the technical diagram to prevent system errors.
-
Verify connectivity with the BMS if the controller is integrated with the building management system.
-
Perform regular maintenance to ensure the device always operates stably and at peak performance.
Proper installation of the Honeywell FCU controller helps optimize the performance of the HVAC system, save energy, and ensure a healthy environment for the building. If you encounter difficulties during installation, contact DLK for assistance and expert consultation.
DLK Trading Service Company Limited
-
Address: G6/14 Tran Van Giau, Le Minh Xuan Ward, Binh Chanh District, Ho Chi Minh City
-
Office: 111/7 Vuon Lai, Phu Tho Hoa Ward, Tan Phu District, Ho Chi Minh City
-
Website: https://dlk.com.vn/
-
Email: info@dlk.com.vn
-
Hotline: 070 357 0101 – 093 279 2697